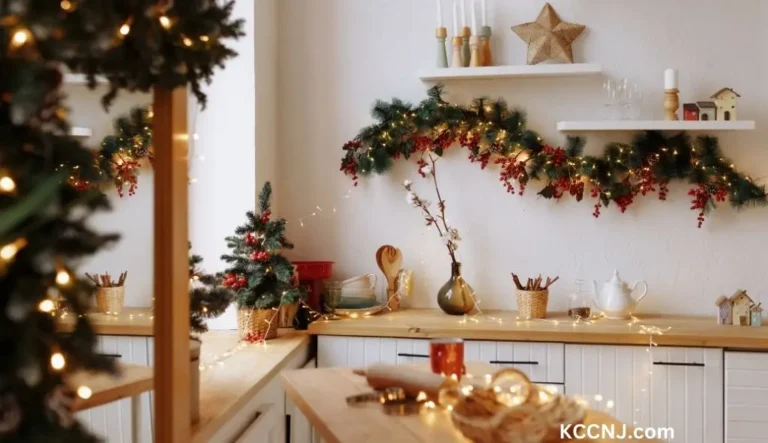
21 Christmas Village Ideas for Small Spaces
Creating a Christmas village display in small spaces requires creativity and clever use of available areas. From bookshelves to window ledges, there are numerous ways to showcase your festive miniatures without taking up too much room. This guide explores 21 innovative ideas for small-space Christmas village displays.
Christmas Village Displays for Small Spaces
Christmas villages are a beloved holiday tradition, but they can be challenging to set up in smaller homes. However, with some creativity and strategic planning, you can create stunning displays even in limited spaces.
Here are the 21 innovative ideas for Christmas village displays that are perfect for small areas, ensuring you can enjoy this festive tradition regardless of your home’s size.
Bookshelf Village
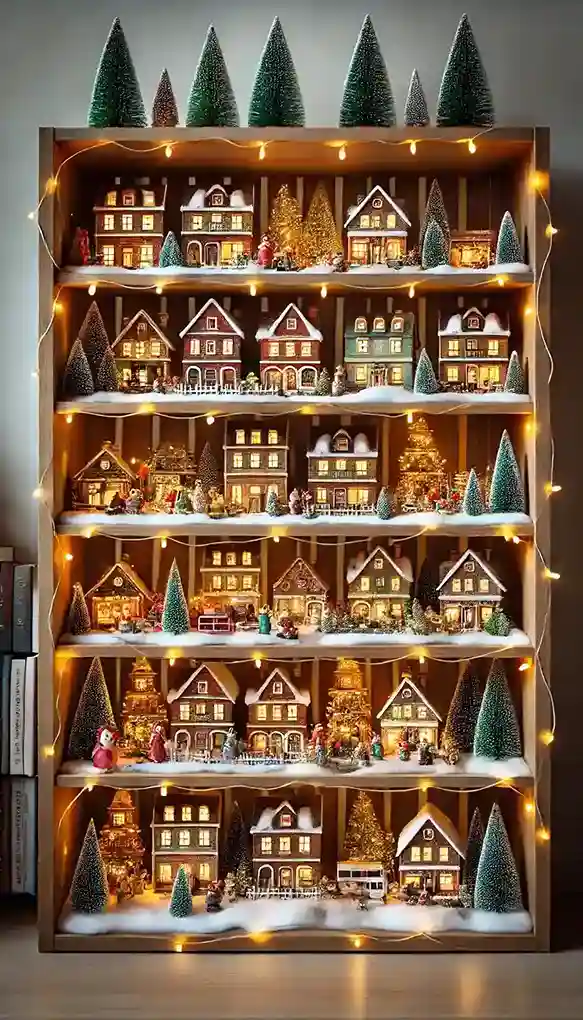
Transform your bookshelf into a charming multi-level Christmas village display. This approach makes excellent use of vertical space and creates a visually interesting scene.
To create a bookshelf village:
- Clear some shelves of books, leaving others for a mixed display.
- Use varying heights of houses and accessories on each shelf.
- Add small LED lights to create a warm glow.
- Use cotton batting or fake snow to create a wintry backdrop.
This display method allows you to group different “neighborhoods” on separate shelves, creating distinct areas within your village.
Window Ledge Wonderland

Your window ledge can serve as an ideal spot for a small Christmas village display. This location offers the benefit of being visible from both inside and outside your home.
Tips for a window ledge display:
- Choose smaller houses and accessories to fit the narrow space.
- Use a thin layer of fake snow or a white runner as a base.
- Add battery-operated LED lights for a magical evening glow.
- Consider the view from outside when arranging your pieces.
Remember to secure your village pieces if you open the window frequently to prevent accidents.
Mantel Miniature Town
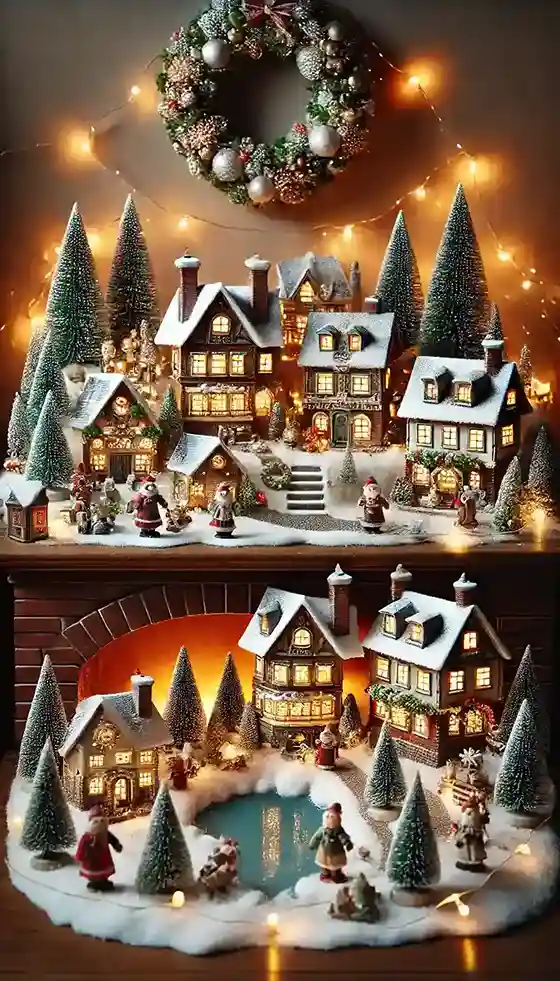
The fireplace mantel is a natural focal point in many homes, making it an excellent location for your Christmas village display.
Creating a mantel village:
- Start with a neutral runner or fabric to protect the mantel surface.
- Arrange larger buildings at the back and smaller ones in front for depth.
- Incorporate different levels using small boxes covered in festive paper.
- Add trees, figurines, and other accessories to bring the scene to life.
A mantel display allows for a linear village setup, perfect for telling a story from one end to the other.
Ladder Village

Repurpose an unused ladder into a distinctive vertical Christmas village display. This idea is perfect for corners or narrow wall spaces.
Setting up a ladder village:
- Secure the ladder safely against a wall.
- Place wooden boards or trays across the ladder steps to create platforms.
- Arrange your village houses and accessories on each level.
- Drape garlands or lights along the sides of the ladder for added festivity.
This display method offers a rustic charm and makes excellent use of vertical space in small rooms.
Under-Tree Town

Utilize the often-overlooked space beneath your Christmas tree to create a magical village scene. This approach integrates your village seamlessly with your main holiday decor.
Creating an under-tree village:
- Use a tree skirt or blanket as a base for your village.
- Arrange houses and buildings in a semi-circle around the tree trunk.
- Add small figurines and accessories to create life-like scenes.
- Incorporate the tree’s lowest branches into your display by hanging miniature ornaments or lights.
This method creates a cohesive holiday display, with your tree and village working together to enhance the festive atmosphere.
Floating Shelf Hamlet

Install floating shelves on a wall to display your Christmas village at varying heights. This approach is excellent for rooms where floor or surface space is at a premium.
Tips for a floating shelf display:
- Use shelves of different lengths for visual interest.
- Stagger the shelves to create a dynamic layout.
- Group houses and accessories on each shelf to create mini-scenes.
- Add LED strip lights under each shelf for dramatic lighting.
This display method allows you to adjust the size of your village display easily by adding or removing shelves as needed.
Centerpiece Village
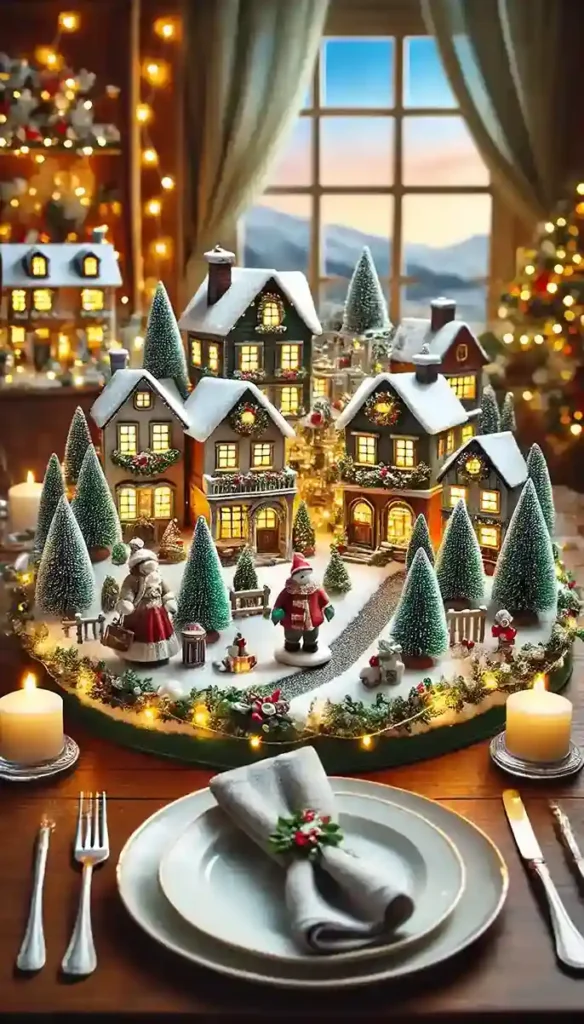
Create a small but impactful Christmas village display as a centerpiece on your dining table. This idea is perfect for those who want to enjoy their village during meals or gatherings.
Creating a centerpiece village:
- Use a table runner as a base for your display.
- Choose a few key buildings and accessories to avoid overcrowding.
- Add battery-operated tea lights or small LED lights for ambiance.
- Incorporate other table decor elements like candles or greenery.
Remember to keep the display low enough to allow for conversation across the table.
Tiered Tray Display
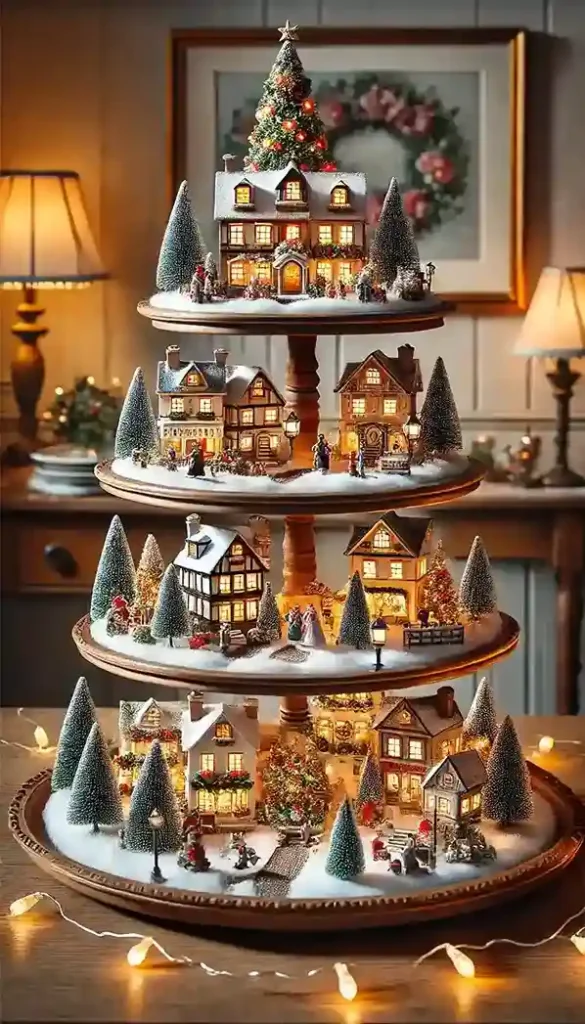
Arrange miniature houses and accessories on a tiered serving tray for a compact and easily movable display. This method is ideal for small side tables or countertops.
Setting up a tiered tray village:
- Choose a two or three-tier tray for optimal display space.
- Place larger buildings on the bottom tier and smaller accessories on top.
- Use small dabs of museum putty to secure items if needed.
- Add miniature trees or bottle brush trees between tiers for a cohesive look.
This display can be easily moved or adjusted, making it perfect for those who like to change their decor frequently.
Shadow Box Scene
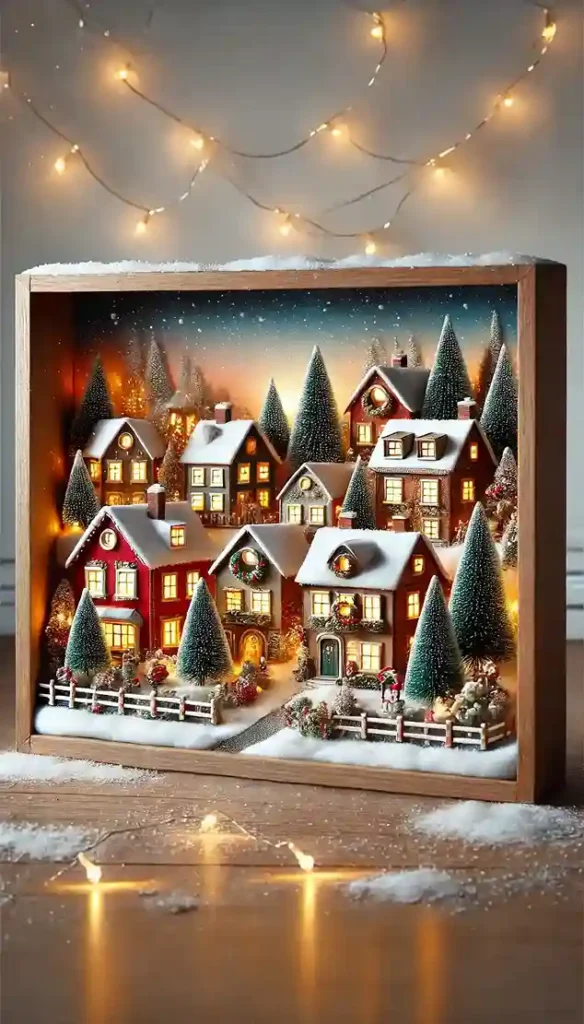
Create a 3D village scene inside a shadow box for a contained, artistic display. This method is excellent for wall-mounted displays or for placing on shelves.
Creating a shadow box village:
- Choose a deep shadow box frame to accommodate your miniatures.
- Create a backdrop using scrapbook paper or painted cardboard.
- Arrange buildings and accessories at different depths for a 3D effect.
- Add small LED lights for illumination.
This display method protects your village pieces from dust and creates a focused, artistic presentation.
Mason Jar Miniatures
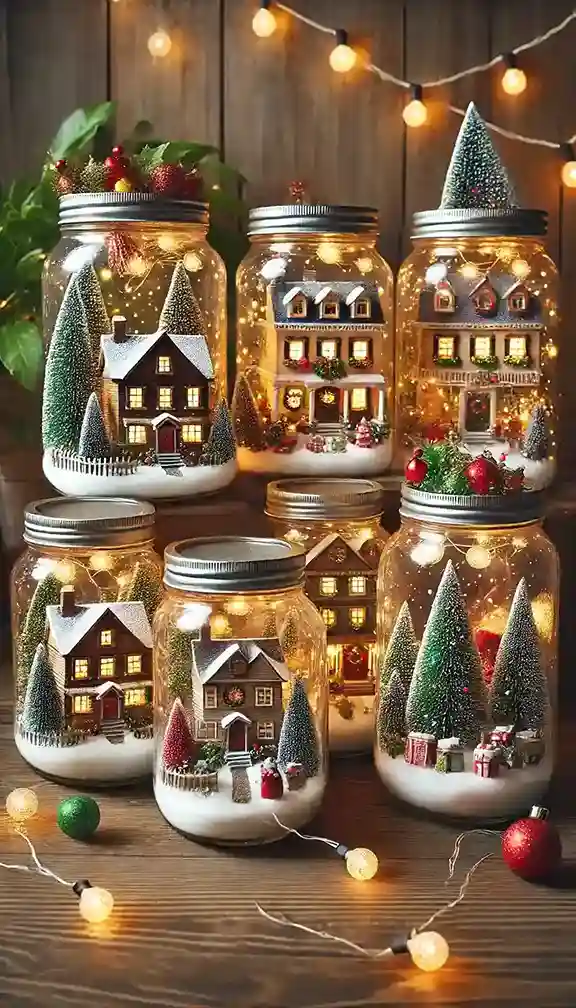
Place tiny houses and trees inside large mason jars for individual, portable scenes. This idea is perfect for distributing your village throughout your home.
Creating mason jar villages:
- Choose wide-mouth mason jars for easier arrangement.
- Add a layer of fake snow or white sand at the bottom.
- Carefully place miniature houses, trees, and figurines inside.
- Seal the jar and add a festive ribbon around the neck.
These portable scenes can be placed on windowsills, shelves, or used as unique gift ideas.
Hutch Display
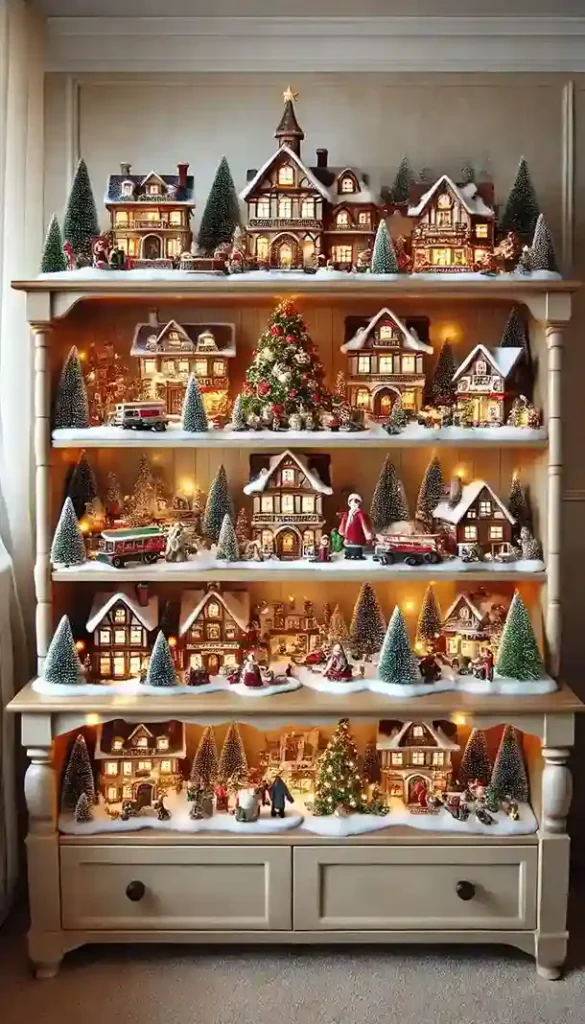
Utilize a hutch or cabinet to create a multi-level village display with added depth. This method allows for a larger display in a contained space.
Setting up a hutch village:
- Remove some shelves if needed to accommodate taller buildings.
- Use the top of the hutch for larger buildings or a mountain scene.
- Create different “neighborhoods” on each shelf.
- Use the hutch’s back panel as a backdrop for your scene.
This display method offers protection for your village pieces and allows for easy storage of extra accessories in the lower cabinets.
Wreath Village

Incorporate small houses and accessories into a large wreath for a unique wall display. This idea combines traditional wreath decor with your Christmas village.
Creating a wreath village:
- Start with a large, sturdy wreath as your base.
- Secure small houses and buildings to the wreath using strong wire or glue.
- Add miniature trees, figurines, and other accessories.
- Incorporate battery-operated lights for a festive glow.
This display method creates a striking wall decoration that saves floor and surface space.
Terrarium Town
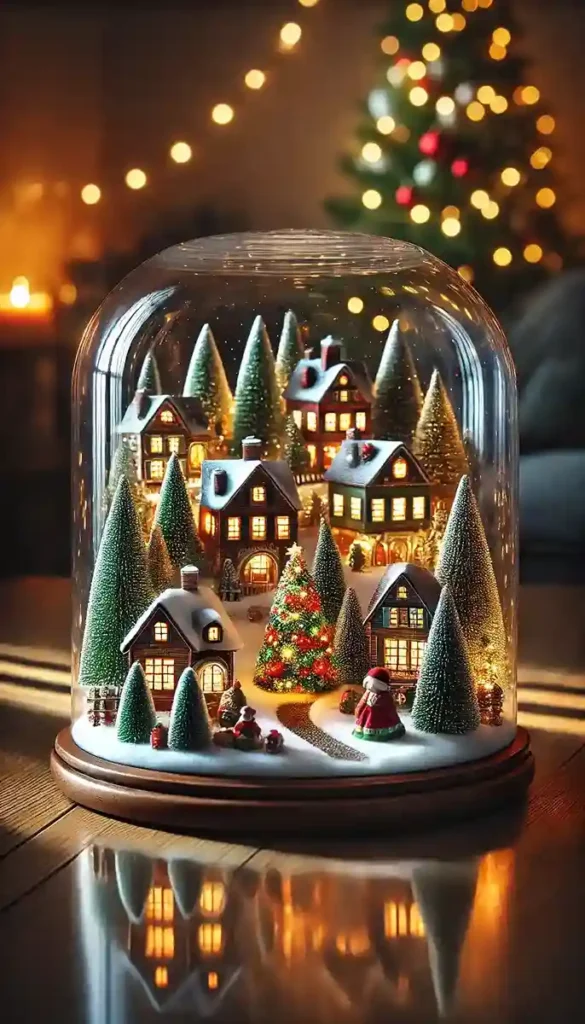
Build a miniature village inside a glass terrarium for a contained, whimsical scene. This approach creates a protected environment for your village.
Setting up a terrarium village:
- Choose a large glass terrarium with an open top.
- Create a base layer with fake snow or white sand.
- Arrange small houses, trees, and figurines inside.
- Add small battery-operated lights for illumination.
This display method is perfect for coffee tables or side tables, offering a unique and protected village scene.
Staircase Village
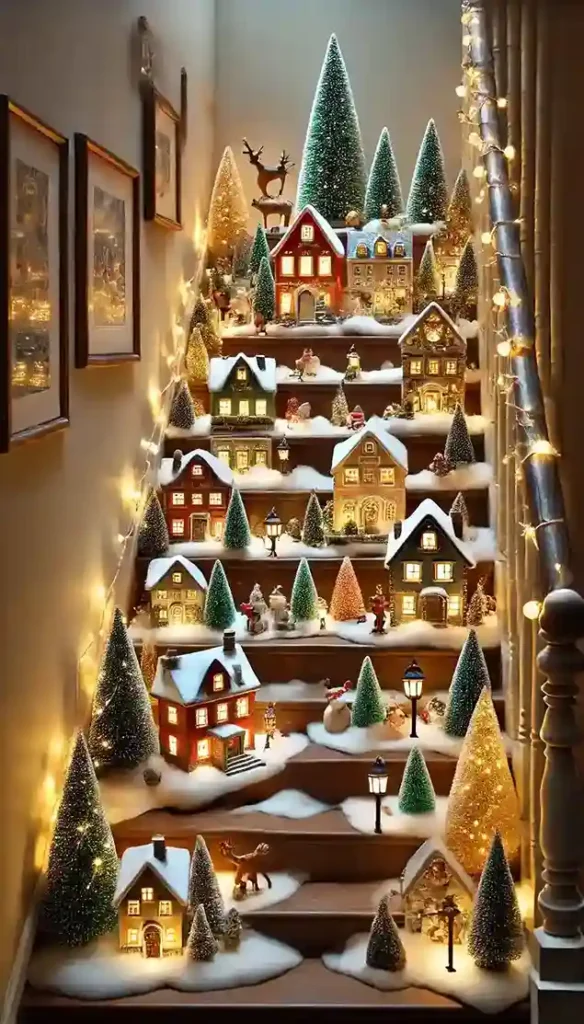
Line your staircase with small houses and accessories, creating a village that ascends. This idea makes use of often-overlooked space in your home.
Creating a staircase village:
- Secure a thin runner or fabric to each step for a base.
- Place houses and buildings on alternating steps.
- Add small accessories and figurines to create scenes on each step.
- Use battery-operated lights or a thin string of LED lights for illumination.
This display method creates a unique visual as you ascend or descend your stairs, maximizing unused space.
Tray Landscape

Arrange a small village scene on a decorative tray for easy relocation. This idea is perfect for those who like to change their decor frequently.
Setting up a tray village:
- Choose a large, sturdy tray as your base.
- Add a layer of fake snow or a white cloth for a wintry feel.
- Arrange a few key buildings and accessories on the tray.
- Include small battery-operated lights for ambiance.
This portable display can be moved from room to room or easily stored when not in use.
Windowsill Wonderland
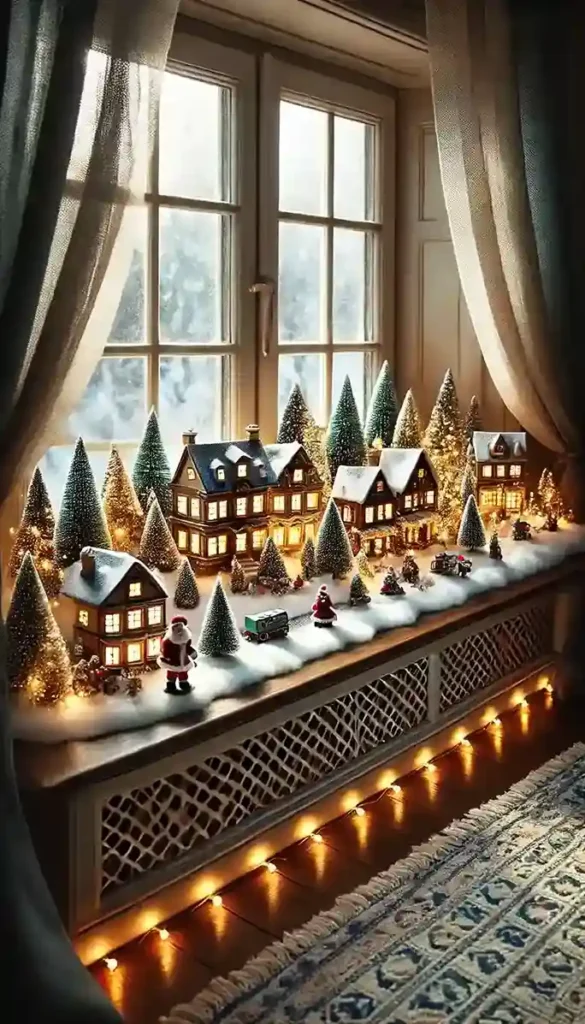
Create a charming village display along your windowsill, framed by curtains. This method utilizes natural light and creates a cozy atmosphere.
Creating a windowsill village:
- Measure your windowsill to determine how many pieces will fit.
- Use a thin runner or fabric as a base to protect the sill.
- Arrange houses and accessories, keeping them low enough to not interfere with curtains.
- Add battery-operated lights for evening illumination.
This display creates a magical scene both inside your home and for passersby outside.
Drawer Dioramas
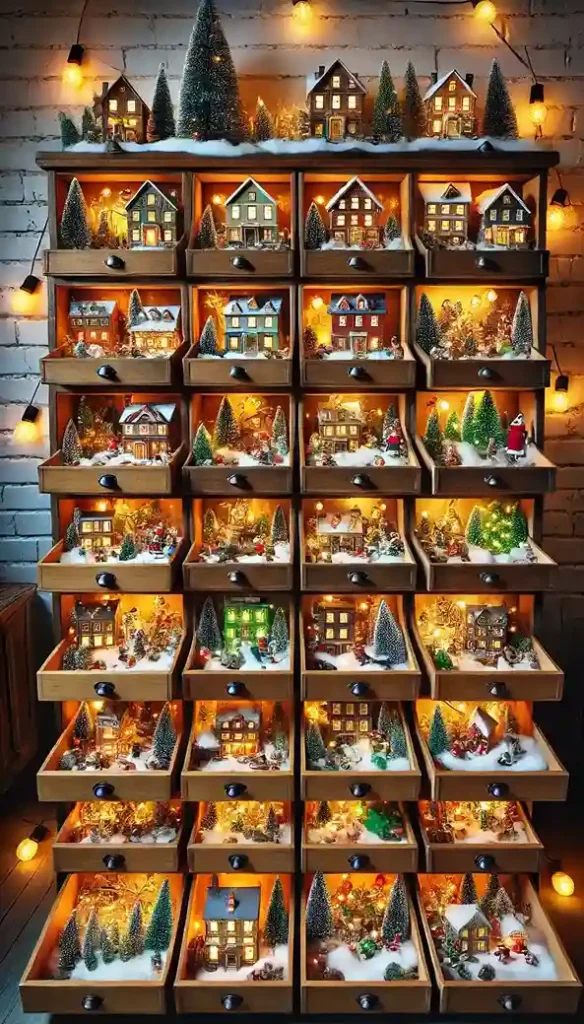
Use vintage drawers to create individual village scenes that can be stacked or displayed separately. This method allows for creative, changeable displays.
Creating drawer dioramas:
- Clean and line old drawers with festive paper or fabric.
- Create a different scene in each drawer.
- Stack drawers or display them side by side on a surface.
- Add small LED lights to each drawer for illumination.
This display method offers flexibility in arrangement and easy storage when not in use.
Cake Stand Scene
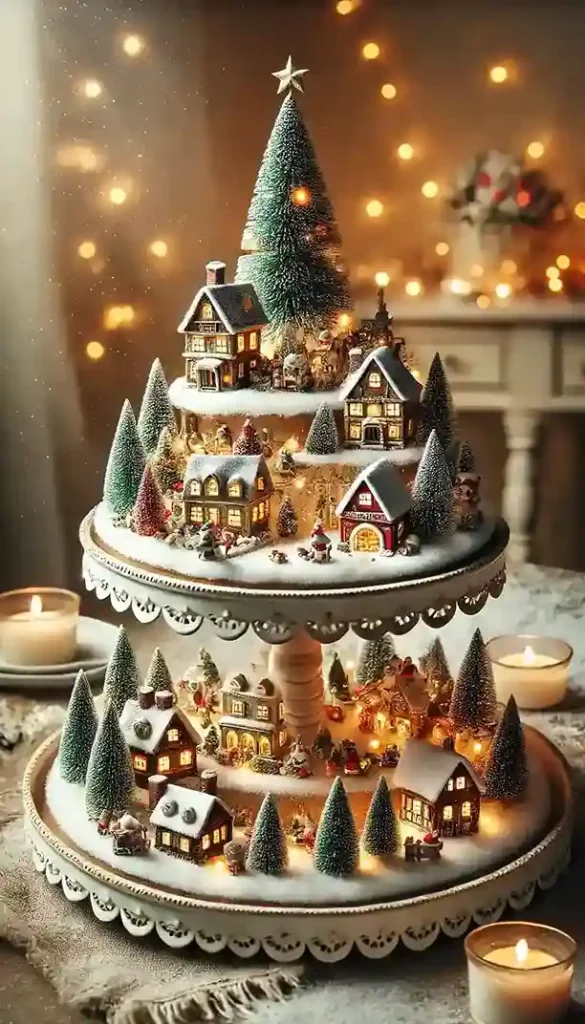
Elevate your village on a tiered cake stand for an elegant, compact display. This idea is perfect for small side tables or countertops.
Setting up a cake stand village:
- Choose a two or three-tier cake stand.
- Place larger buildings on the bottom tier and smaller accessories on top.
- Use small dabs of museum putty to secure items if needed.
- Add miniature trees or bottle brush trees between tiers for a cohesive look.
This display creates a visually interesting vertical arrangement in a small footprint.
Nightstand Nook
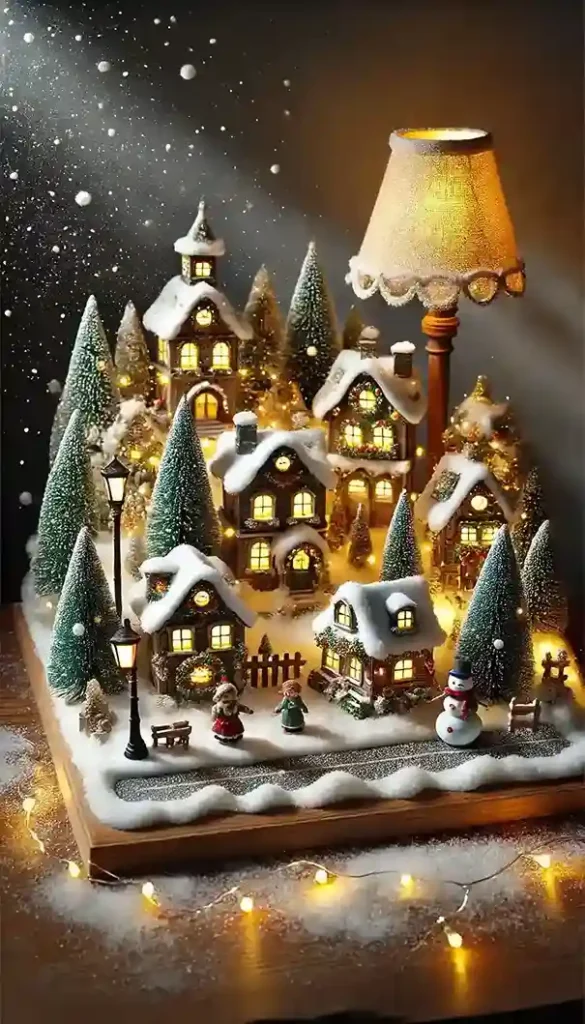
Transform your nightstand into a cozy village scene for bedtime holiday cheer. This idea brings the magic of your Christmas village into your bedroom.
Creating a nightstand village:
- Clear space on your nightstand for a small display.
- Use a small tray or fabric as a base.
- Choose a few key pieces that fit the available space.
- Add a small, battery-operated light for a soft glow.
This display allows you to enjoy your Christmas village as you fall asleep and wake up during the holiday season.
Picture Frame Diorama

Build a 3D village scene inside a deep picture frame, creating a wall-mounted display that doubles as festive artwork. This method saves floor and surface space while adding holiday cheer to your walls.
Creating a picture frame diorama:
- Choose a deep shadow box or build a custom deep frame.
- Create a backdrop using scrapbook paper or painted cardboard.
- Arrange buildings and accessories at different depths for a 3D effect.
- Add small LED lights for illumination.
- Hang the frame on your wall like a piece of art.
This display method protects your village pieces and creates a unique, space-saving holiday decoration.


